Hair extensions can create incredible transformations, adding length, volume, color dimension, and confidence.
But a successful extension service does not end at installation. Safe removal is just as important as proper installation.
When extensions are removed too quickly, with the wrong tools, or without enough attention to the natural hair underneath, clients may experience unnecessary pulling, breakage, tangling, or discomfort.
A professional removal appointment gives stylists the opportunity to protect the client’s natural hair, assess scalp health, remove shed hair, and prepare for a healthy reinstallation.
This guide explains how to remove hair extensions safely, including weft extensions, tape-in extensions, and keratin bond extensions.
Important: Hair extensions should be removed by a trained professional whenever possible. Clients should not pull, cut, peel, or force extensions out at home.
Why Proper Hair Extension Removal Matters
During an extension wear cycle, natural hair continues to shed as part of its normal growth process.
Because this shed hair can remain held inside the installation, it may look like a large amount of hair during removal. This does not always mean the extensions caused hair loss.
However, if shed hair is not carefully released and detangled during the removal process, it can become trapped and lead to matting, pulling, or breakage.
A proper removal appointment allows the stylist to:
- Remove extensions without unnecessary tension
- Release naturally shed hair safely
- Check for tangling or matting near the roots
- Assess scalp comfort and hair condition
- Clean away adhesive residue when needed
- Adjust the next installation plan based on the client’s hair health
The goal is not simply to take the extensions out quickly. The goal is to leave the client’s natural hair clean, comfortable, detangled, and ready for its next step.
Before Removing Hair Extensions
Before beginning any removal service, take time to assess the installation. Ask the client about:
- Any discomfort, tightness, itching, or tenderness
- Changes in scalp sensitivity
- Excessive tangling or matting
- Swimming, heavy sweating, or product buildup
- Any recent color, bleach, or chemical service
- Their overall experience with the installation
Then prepare the hair carefully.
Start With Clean Sectioning
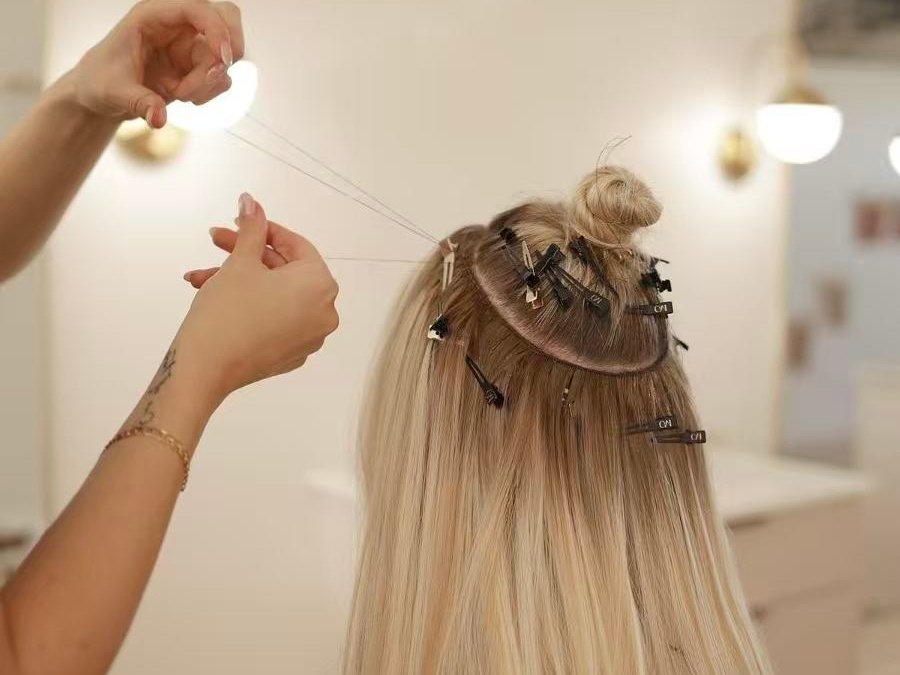
Use sectioning clips to separate the hair into clean, manageable areas. Avoid working through large, uncontrolled sections, especially around rows, bonds, or tape tabs.
Detangle From Ends to Roots
Before removing the extensions, gently detangle the lengths of the hair. Start from the ends and gradually work upward toward the roots.
This helps reduce tension and makes the removal process more controlled. For areas with matting, work slowly in small sections. Do not pull through knots or rush the process.
Use Professional Tools Only
Use tools designed for extension removal. Avoid household scissors, standard pliers, or any tool that could crush, cut, or pull the client’s natural hair.
A professional removal setup may include:
- Sectioning clips
- Fine-tooth comb
- Extension brush
- Precision scissors
- Professional bead remover pliers
- Tape-in adhesive remover
- Keratin bond remover
- Removal towel or cape
- Clarifying shampoo
- Deep conditioning treatment
How to Remove Butterfly Weft and Genius Weft Extensions
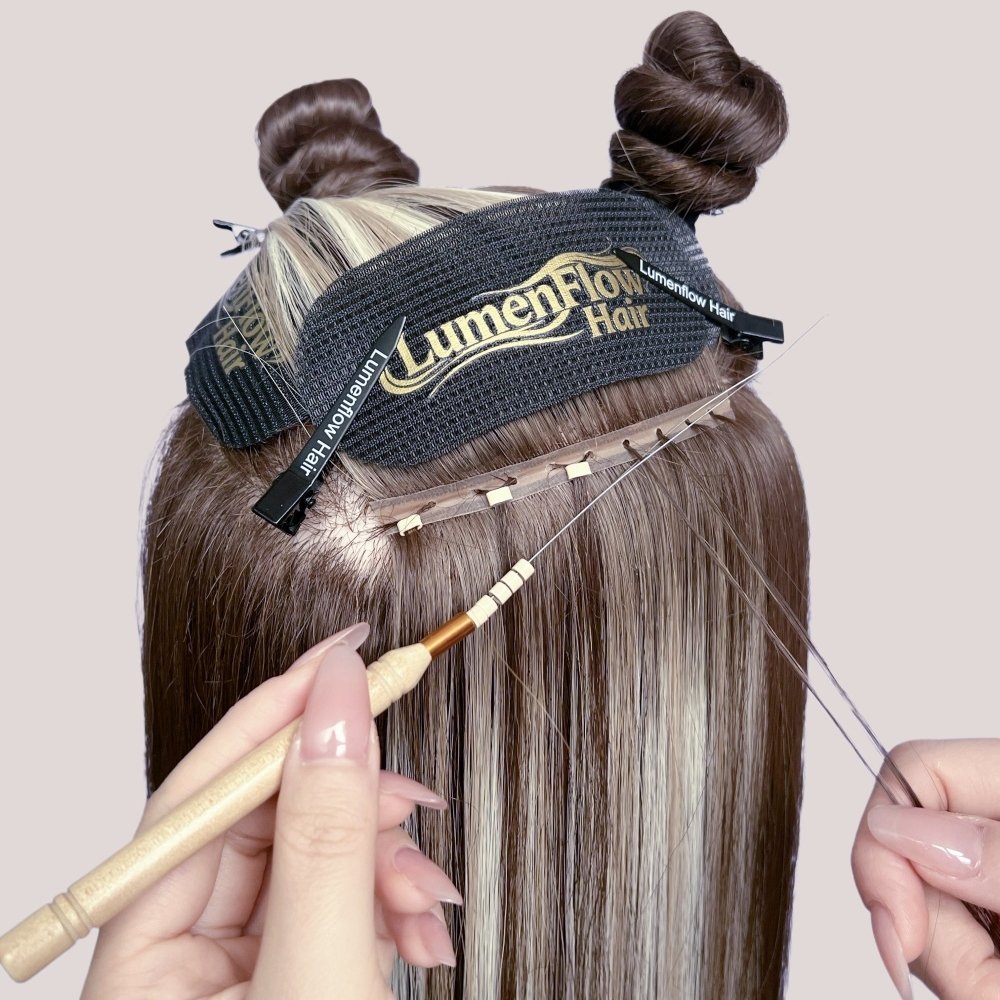
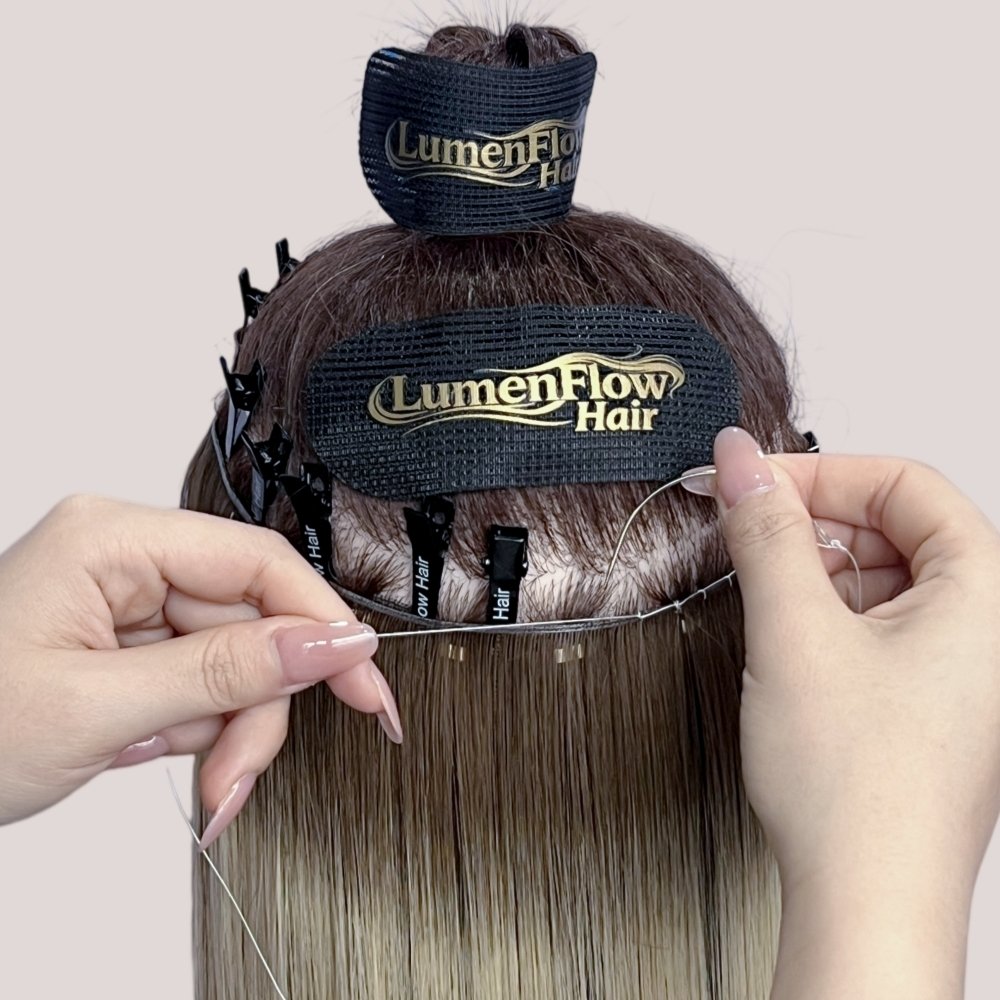
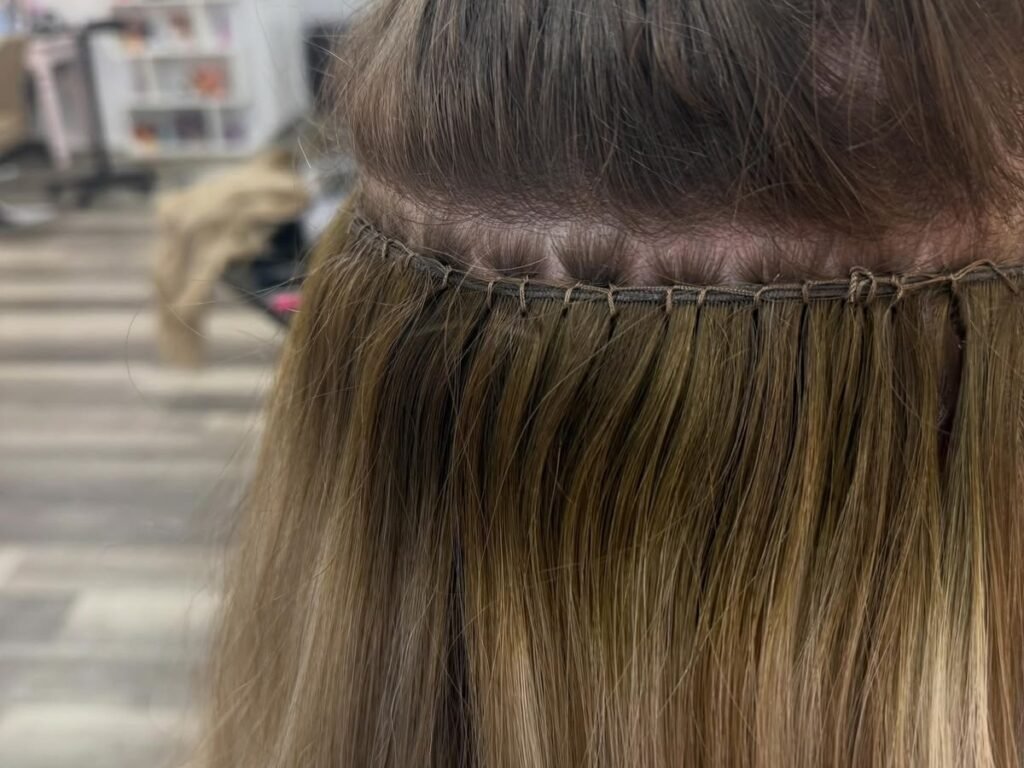
Butterfly Weft and Genius Weft extensions are commonly installed using a beaded foundation with thread or a sewn attachment method.
The exact removal process may vary depending on the installation technique, but the principle remains the same: remove the weft first, then release the beads carefully.
Step 1: Locate Each Row
Section the hair and clearly identify each extension row. Make sure you understand where the thread, beads, and weft are positioned before cutting or loosening anything.
Step 2: Remove the Thread Carefully
Use precision extension scissors to cut the thread that secures the weft to the foundation. Cut only the thread.
Take extra care not to cut:
- The client’s natural hair
- The extension weft
- The bead foundation
- Any surrounding hair that may be caught in the row
Once the thread has been fully released, gently remove the weft from the row.
Step 3: Check for Remaining Thread
After removing the weft, inspect the foundation carefully. Look for small pieces of remaining thread, trapped hair, or tangling around the beads. Remove these gently before moving to the next step.
Step 4: Open the Beads
Use professional bead removal pliers to gently open each bead. Do not pull the bead down before it has been fully loosened.
Once the bead is open, slide it off the natural hair carefully.
Step 5: Detangle Shed Hair
After the beads are removed, gently comb through the section from ends to roots.
You may notice naturally shed hairs that were held within the installation. Take time to release and remove them without pulling.
Step 6: Repeat Row by Row
Work through the installation one row at a time. This gives you better control and helps prevent the natural hair from tangling between rows.
How to Remove Tape-In Hair Extensions Safely
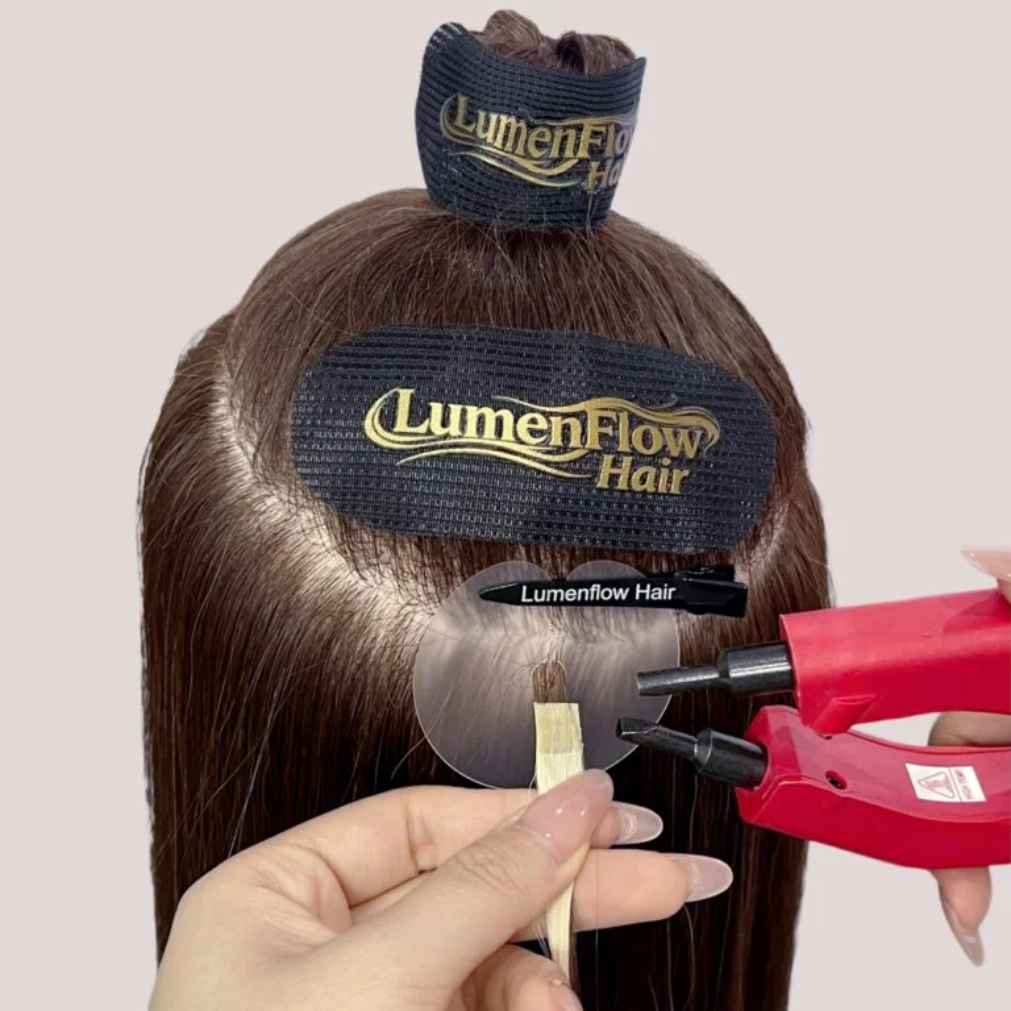
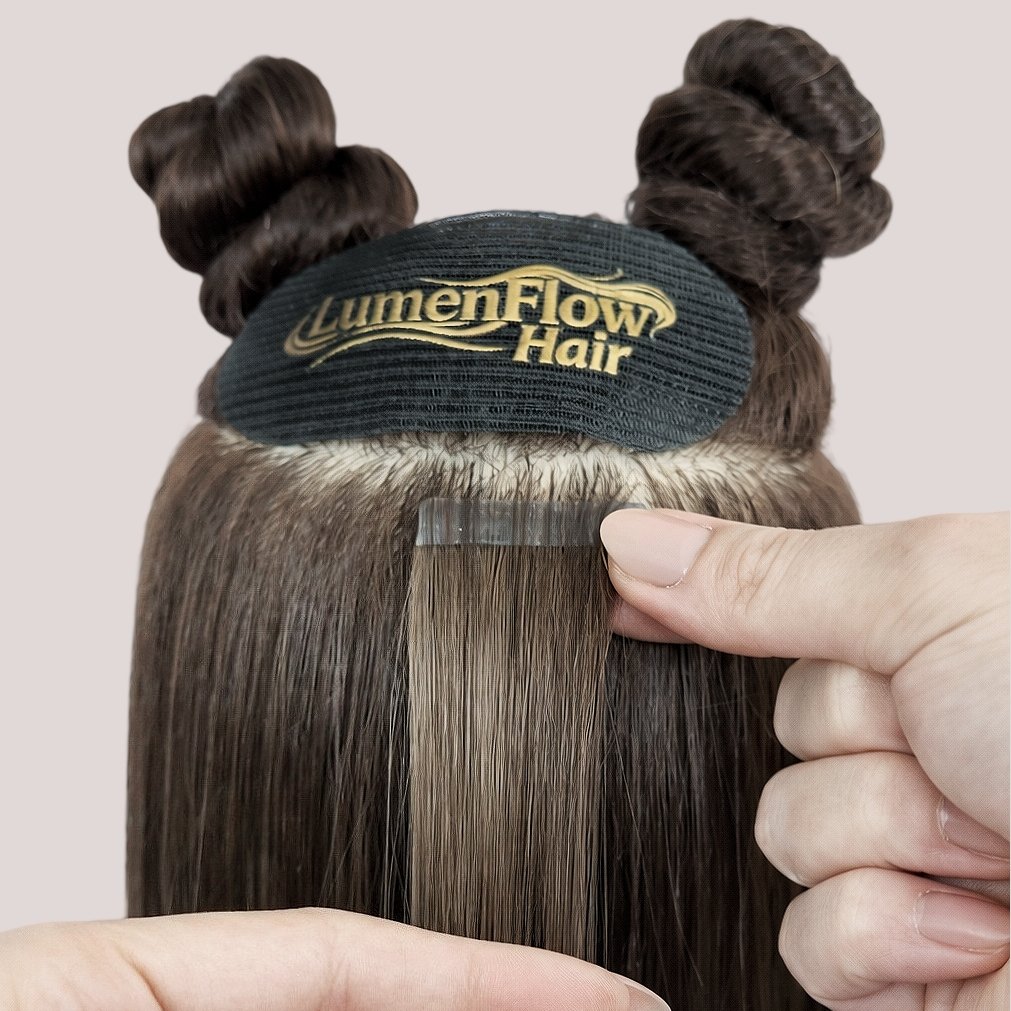
Tape-in extensions are secured with adhesive tabs, so the adhesive must be fully loosened before separating the panels.
Never force tape-in extensions apart. Pulling tape tabs open before the adhesive has softened can create unnecessary tension on the client’s natural hair.
Step 1: Section the Hair
Separate the hair so each tape-in sandwich is easy to access. Work with one panel at a time to avoid adhesive transferring to surrounding hair.
Step 2: Apply Professional Tape-In Remover
Apply a professional adhesive remover directly to the tape tab. Allow the remover enough time to soften the adhesive.
The exact timing will depend on the remover product and adhesive strength. Do not rush this step.
Step 3: Separate the Tape Tabs Gently
Once the adhesive begins to release, carefully separate the two tape tabs using your fingers or a fine-tooth comb.
Avoid pulling downward on the natural hair. If the tape is still resistant, apply more remover and allow additional time.
Step 4: Slide the Extension Away
After the adhesive has fully loosened, gently slide the extension panel away from the natural hair. Do not peel or rip the extension out.
Step 5: Remove Adhesive Residue
Use additional remover as needed to remove leftover adhesive residue from the natural hair.
Follow with a clarifying shampoo and a moisturizing conditioner or treatment before reinstalling extensions.
How to Remove K-Tip Hair Extensions Safely
K-Tip or keratin bond extensions are attached strand by strand using a keratin bond. They require careful removal to avoid pulling or breaking the client’s natural hair.
Step 1: Isolate One Bond at a Time
Section the hair and isolate each keratin bond. Working in small sections is essential.
Trying to remove multiple bonds at once increases the risk of tangling and unnecessary pulling.
Step 2: Apply Keratin Bond Remover
Apply a professional keratin bond remover directly to the bond. Allow the remover to soften the keratin before attempting to break the bond.
Step 3: Break the Bond Gently
Use professional removal pliers to gently crack or break down the softened keratin bond.
Only apply pressure to the bond itself. Do not squeeze the client’s natural hair.
Step 4: Slide Out the Extension
Once the bond has fully broken down, gently slide the extension strand out of the natural hair.
If it does not release easily, apply more remover and repeat the process. Never force the extension out.
Step 5: Remove Residue and Detangle
After removing the extension, gently comb through the natural hair to remove shed hairs and any remaining keratin residue.
Repeat carefully across the entire installation.
What Not to Do During Extension Removal
Avoid these common mistakes during a removal appointment:
- Do not rush through rows, bonds, or tape tabs.
- Do not pull extensions out when they are still attached.
- Do not cut without clearly seeing the thread or attachment point.
- Do not use household scissors or non-professional pliers.
- Do not remove tape-in extensions before the adhesive is fully softened.
- Do not force keratin bonds apart without proper remover.
- Do not ignore matting near the roots.
- Do not reinstall extensions without checking the client’s hair and scalp first.
A slower, more controlled removal is always better than a fast removal that causes unnecessary damage.
Post-Removal Hair and Scalp Assessment
Before installing a new set of extensions, make sure the natural hair is fully clean and free from residue.
A professional reinstallation appointment should include:
- Clarifying the hair when needed
- Removing all adhesive, keratin, bead, or thread residue
- Detangling the natural hair thoroughly
- Checking scalp comfort and natural hair density
- Reviewing the previous installation with the client
- Adjusting placement, weight, row position, or method if needed
A healthy reinstallation plan may look different from the previous appointment. For example, the stylist may choose to use fewer wefts, reduce the weight in a specific area, move rows slightly, or recommend a different extension method.
Hair Extension Removal FAQs
Can clients remove hair extensions at home?
Temporary clip-in extensions can usually be removed at home when done gently.
However, semi-permanent extensions such as wefts, tape-ins, and keratin bonds are best removed by a trained professional. Improper removal can lead to pulling, residue buildup, tangling, and breakage.
Is it normal to see shed hair after removing extensions?
Yes. Natural hair sheds every day, but shed hairs can remain trapped within the extension installation.
Seeing shed hair during removal does not automatically mean that the extensions caused hair loss. A professional stylist should gently detangle and release this hair during the removal process.
Can Butterfly Weft or Genius Weft extensions be reused?
In many cases, high-quality weft extensions can be reused if they remain in good condition after removal.
The stylist should inspect the weft for shedding, tangling, dry ends, thread damage, and overall hair quality before deciding whether it is suitable for reinstallation.
How often should extensions be removed and maintained?
The ideal schedule depends on the extension method, the client’s natural hair growth, scalp condition, lifestyle, and installation method.
For weft methods, clients commonly return for maintenance every 4 to 6 weeks. Tape-in and keratin bond maintenance schedules may vary depending on the installation and individual hair growth.
Professional Extension Care Starts With Proper Removal
Beautiful extension results are built on more than the installation day. A careful removal appointment protects the natural hair, supports scalp comfort, improves the next installation, and helps build long-term trust with clients.
Whether you are removing Butterfly Weft, Genius Weft, Tape-In, or K-Tip extensions, always work slowly, use the correct tools, and prioritize the condition of the client’s natural hair.
At LumenFlow Hair, we believe professional extension services should support beautiful transformations while respecting the health, comfort, and long-term integrity of natural hair.