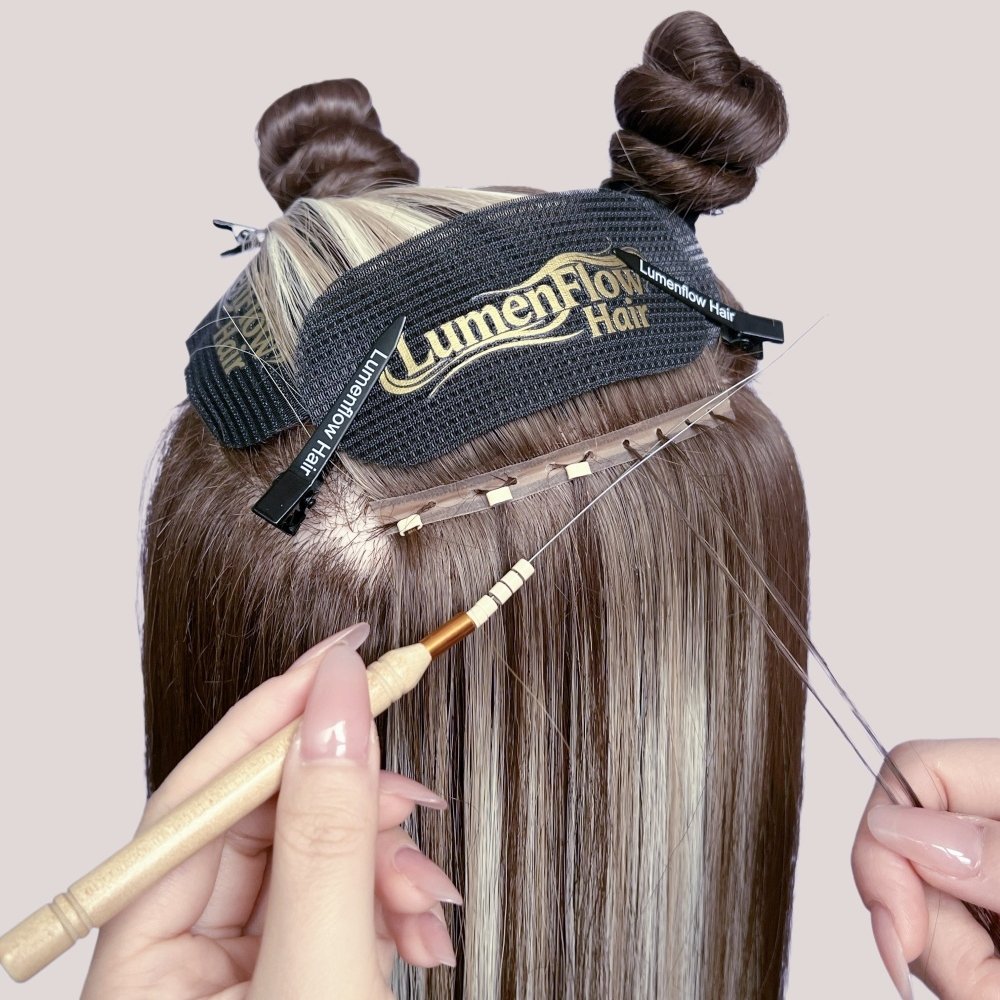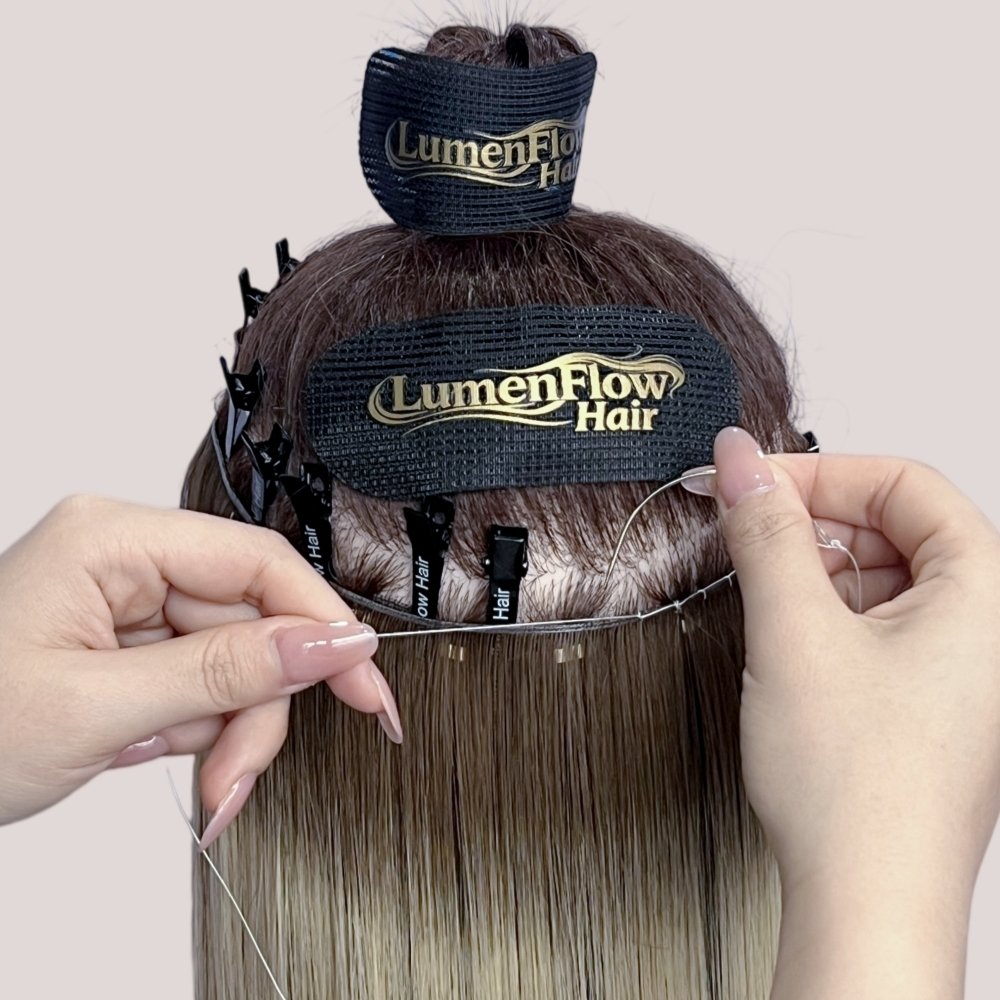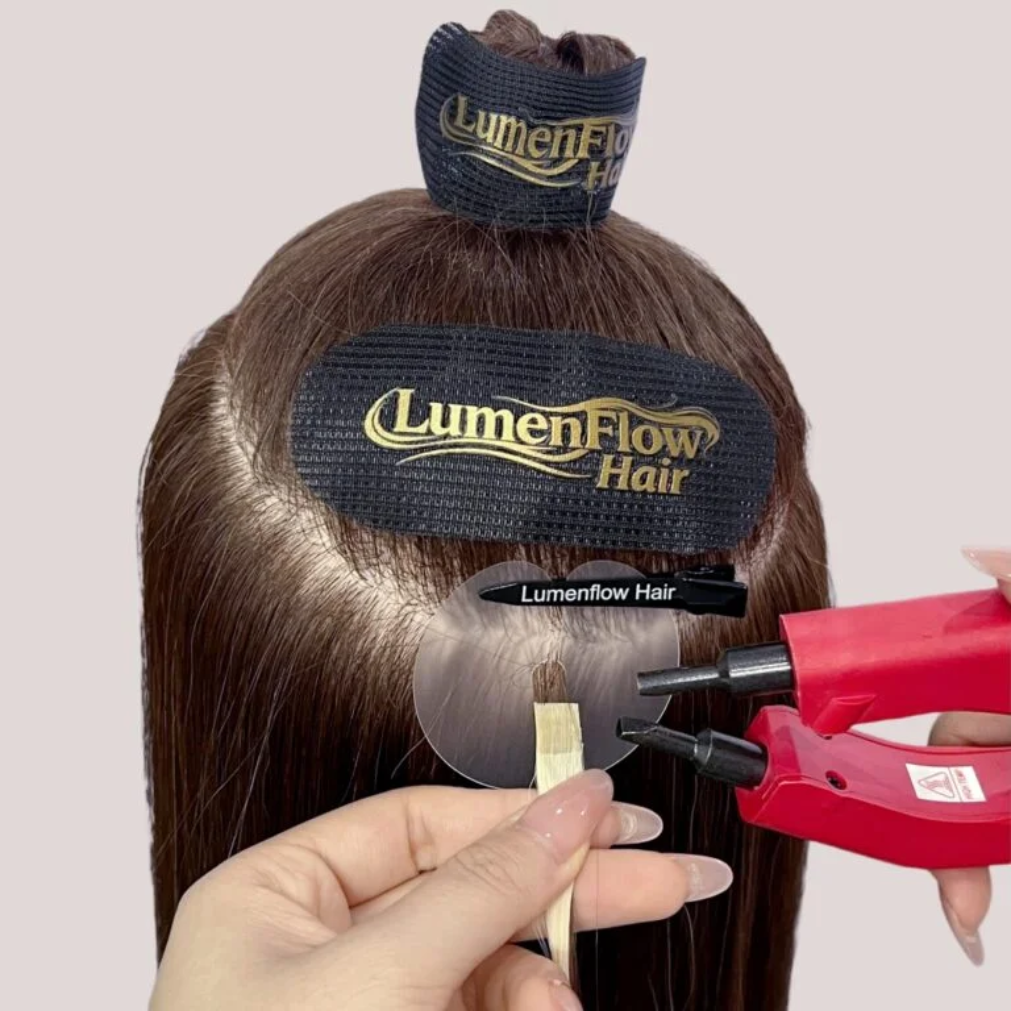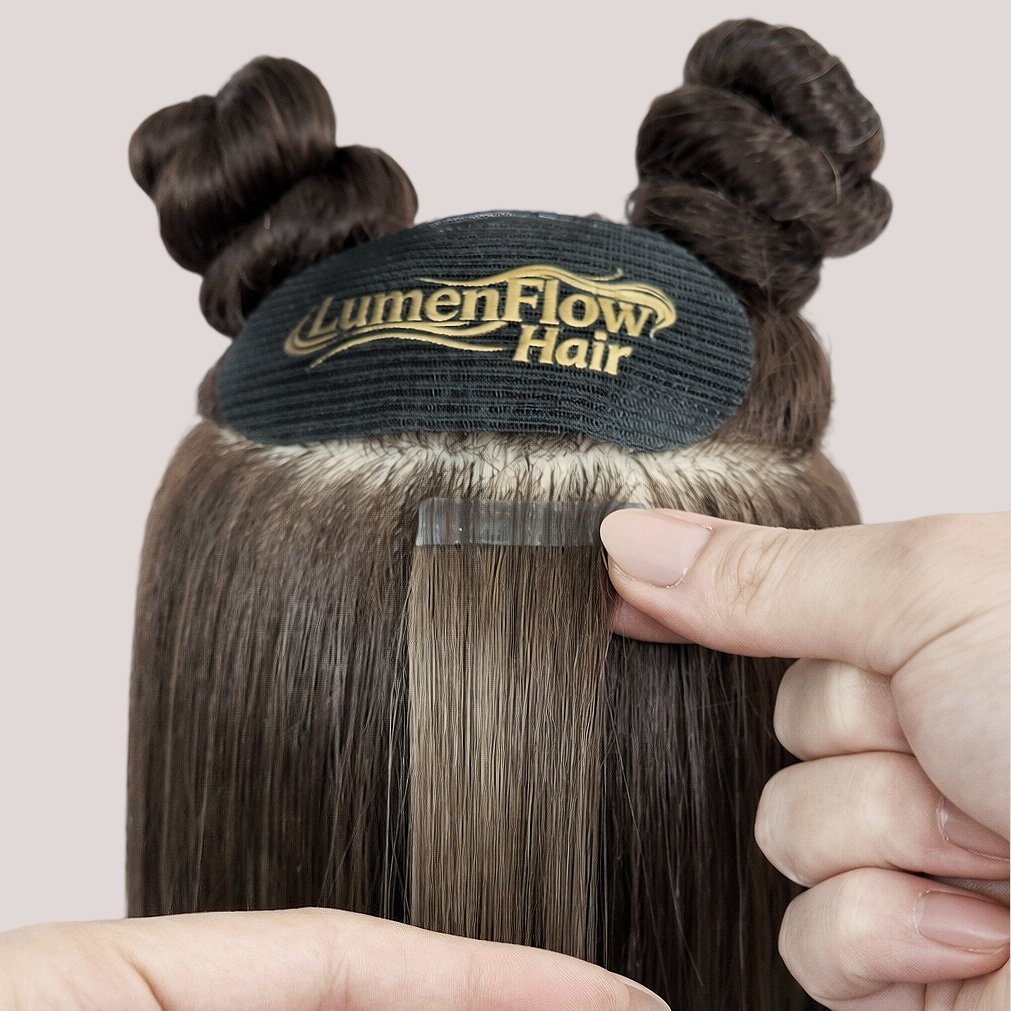
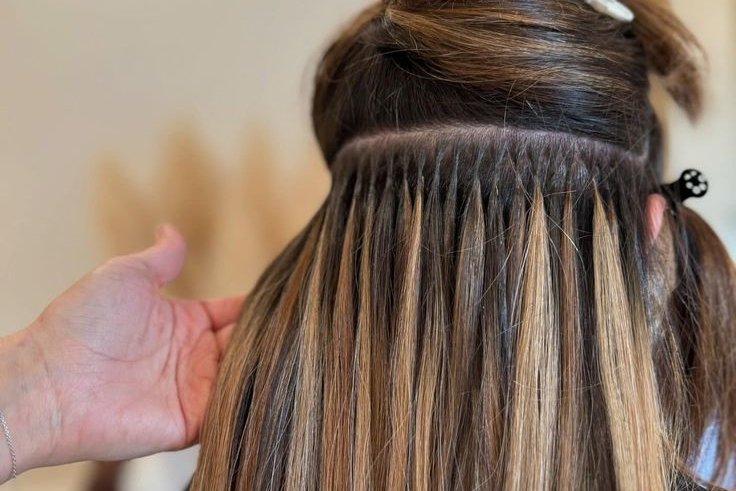
A clean K-Tip installation comes down to four things: matching the natural-hair section to the extension strand, placing the bond where the hair can move naturally, forming the keratin attachment consistently, and distributing weight evenly across the installation.
For stylists, the goal is not to follow one universal measurement. It is to create a controlled attachment that works with the client’s natural hair and placement area.
For a broader overview of the method itself, see LumenFlow’s K-Tip extensions for stylists guide.
1. Start With the Right Natural-Hair Section
Every K-Tip bond depends on a controlled section of natural hair for support.
If the extension strand is too heavy for the natural-hair section supporting it, too much load can become concentrated in one small area. Poorly controlled sections can also make the finished installation uneven.
There is no universal section size that works across every client or every area of the head.
The section should make sense for the extension strand, local density, strand strength, and placement area.
Consistency matters, but consistency does not mean forcing every section to be identical.
A stronger area at the back of the head may not need the same approach as a lighter side or temple area.
2. Place the Bond Where the Hair Can Move Naturally
Bond placement should work with the natural hair rather than forcing it into a fixed pattern.
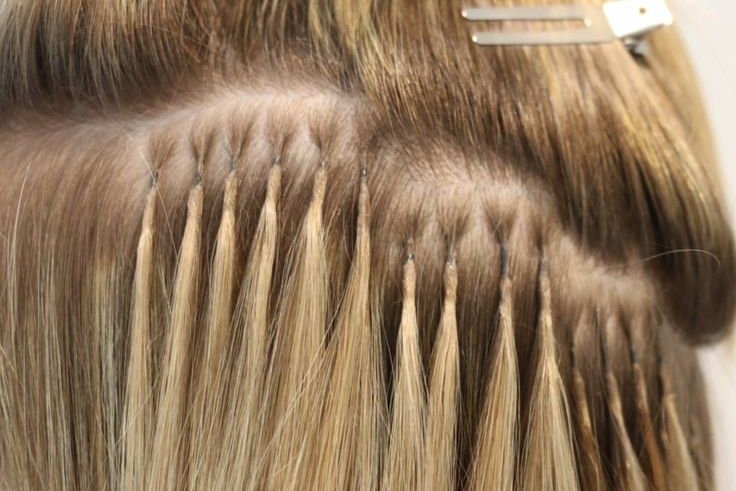
A keratin bond can be formed perfectly and still be poorly placed if it becomes visible during normal styling or pulls the natural hair away from its natural growth direction.
The stylist should think about three things:
support, movement, and concealment.
Areas such as the temples, sides, crown, perimeter, and back may require different placement decisions because density, coverage, and movement can vary.
Leave Enough Room for Natural Movement
There is no single scalp distance that should be used for every client.
The bond needs enough room to move naturally without sitting unnecessarily far from the root.
After placement, move the hair in the directions the client normally wears it.
The natural hair should not feel locked into one position, and the client should not feel obvious pulling or pinching.
The better question is not:
How many millimeters from the scalp?
It is:
Can this attachment move naturally while staying controlled and concealed?
3. Form a Clean, Consistent Keratin Bond
Once the section and placement are correct, the next focus is bond formation.
Fusion should be controlled and repeatable.
Use a professional fusion tool with heat appropriate for the keratin system, and focus on forming a clean attachment rather than relying on extra heat or pressure.
More Heat Does Not Mean a Stronger Bond
More heat does not automatically improve retention.
If the sectioning or placement is wrong, increasing heat does not solve the underlying problem.
At the same time, incomplete fusion can leave the attachment inconsistent.
The goal is controlled keratin activation and a properly formed bond—not maximum heat.
Bond Size Should Match the Section
Professional K-Tip work is not about creating the smallest possible bond.
A bond should be appropriately sized for the natural-hair section and extension strand.
If bond size and shape vary significantly across the installation, concealment and movement can become less predictable.
Controlled consistency matters more than chasing the smallest attachment possible.
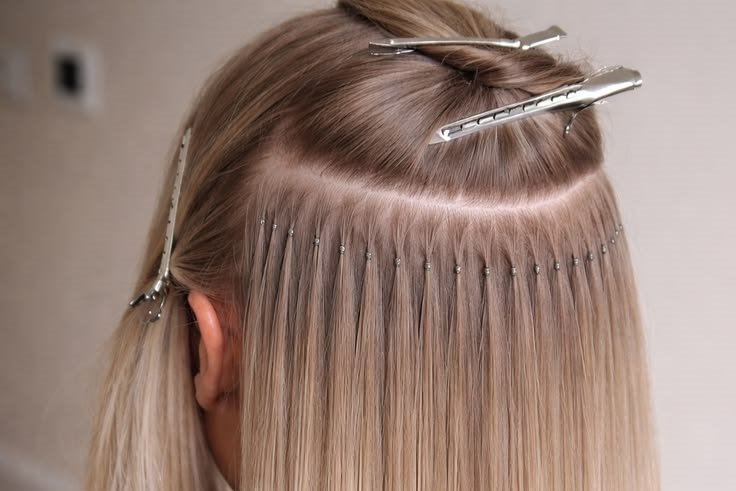
4. Distribute the Installation, Not Just the Bonds
K-Tip distributes extension hair through many individual attachment points.
That gives stylists detailed control over where fullness is added, but each bond is also part of the overall weight distribution of the service.
A technically correct total amount of extension hair can still create a poor result if too much weight is concentrated in weaker areas.
Lower-density zones should not automatically receive the same extension load as stronger areas of the head.
The stylist should continue evaluating:
- natural density
- strand strength
- available coverage
- placement
- desired finished fullness
throughout the installation.
The goal is not simply to install the correct number of bonds. It is to distribute the service in a way the natural hair can support.
5. What Should Stylists Check Before Finishing?
Before the client leaves, look at the installation from multiple angles.
Move the hair in the directions the client normally wears it and check whether the bonds remain concealed and separated.
Pay attention to:
- localized pulling
- pinching
- restricted movement
- visible bonds
- uneven placement
- overloaded areas
If one section already feels uncomfortable or looks poorly positioned, it is better to reassess it before the client leaves than assume it will settle on its own.
Frequently Asked Questions
Why do K-Tip bonds slip?
K-Tip slippage can be related to sectioning, bond formation, placement, natural-hair oil, product buildup, or aftercare. The cause should be assessed across the full installation rather than assumed from the bond alone.
For more detailed troubleshooting, see our Hair Extension Slippage Guide.
How close should K-Tips be placed to the scalp?
There is no universal measurement. The bond should allow natural movement while remaining controlled and easy to conceal.
Should every K-Tip bond be exactly the same size?
The installation should feel consistent, but bond size should still be appropriate for the natural-hair section and extension strand.
Are smaller K-Tip bonds always better?
No. Smaller does not automatically mean better. The attachment needs to remain stable, manageable, and appropriate for the natural hair supporting it.
Why do K-Tip bonds slip?
Slippage can involve sectioning, placement, bond formation, natural-hair oil, product buildup, aftercare, or other installation factors. The cause should be assessed rather than assumed.